INSTALLATION GUIDE
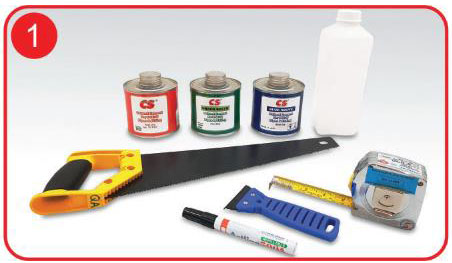
Preparation
Prepare all the needed tools and equipment for the pipe installation.
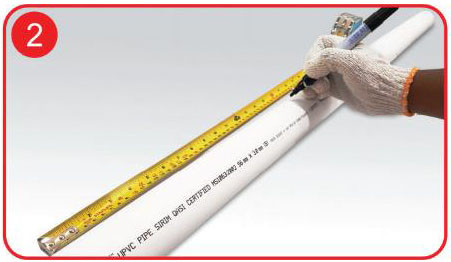
Marking
Mark the socket depth on the pipe end.
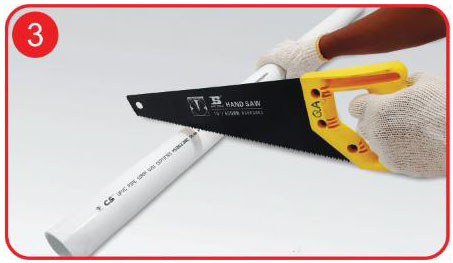
Cutting the Pipe
Cut the pipe with the proper tool, using a fine-toothed saw.
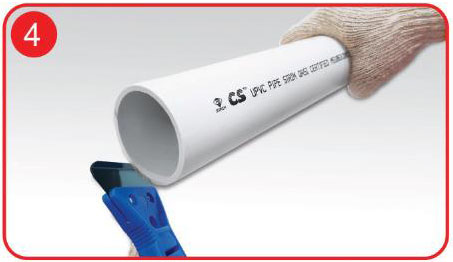
Joint Preparation
Slightly deburr the external pipe edge and break off any sharp edges.
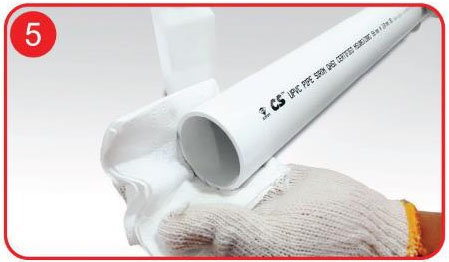
Cleaning
Thoroughly clean all surfaces to be joined. Any dirt, moisture, oil and other foreign material will affect the joining‘s integrity.
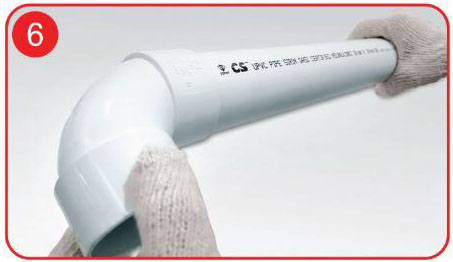
Test Dry Fit of the joint
Insert the spigot into the socket without the solvent cement to check the fit. An interference fit should occur between 1/3 and 2/3 of full entry.
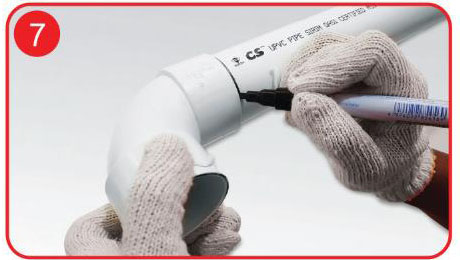
Witness Mark the pipe
Draw a line on the spigot to show the depth of the socket.
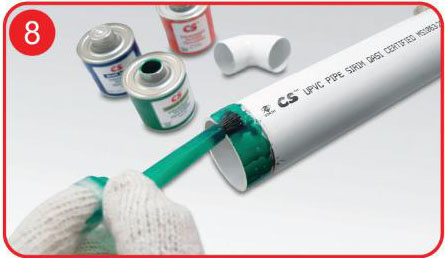
Apply Solvent Cement on Pipe
Apply an even coat of solvent to the pipe marked for joining.
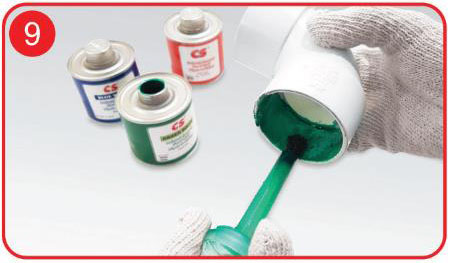
Apply Solvent Cement on Fitting
Apply an even coat of solvent to the inside of the spigot or socket.
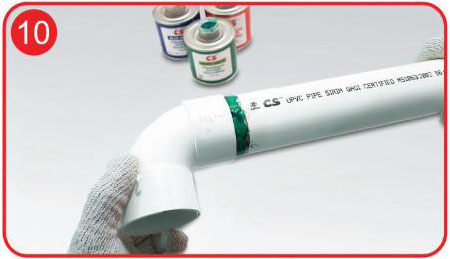
Assembly of joint
While both parts to be joined are still wet, put the spigot into the socket in a slightly twisting motion. Hold the cemented joint idle for a minimum of 30 seconds for secure adhesion.
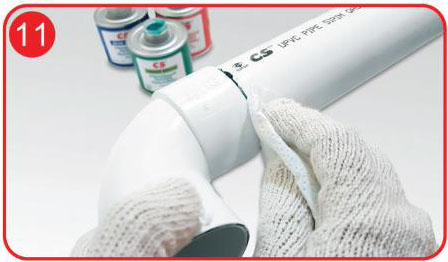
Clean off
Wipe off excess cement from the pipe at the end of the socket. Any gaps in the cement ring around the pipe perimeter may indicate a defective assembly.
